
Benro-Polaris (English version) review and thoughts
“In my experience there is no such thing as luck.” – Obi-Wan Kenobi
In early 2021, I stumbled across a mail in my inbox advertising a Kickstarter campaign for a panoramic head, Benro-Polaris. Here are my thoughts and a bit of a review.
After reading the description and doing some research on such campaigns, I decided to risk a few hundred Euros for Benro Polaris.
What was this device all about anyway?
(I’m not a native english-speaker. Hopefully there won’t be to many mistakes in grammar and spelling.)
And there will be no video tutorial, never ever.

What is it all about?
Benro-Polaris promises a motor-driven panoramic head that can move a wide variety of cameras in two axes. The head is controlled via an app. The respective camera is connected to the head via cable and is controlled by it via app. Benro promised to support as many camera models as possible right from the start. My various Nikon DSLRs would be able to be controlled.

Of course, that wasn’t all. An astro extension would be mountable on this head. This should work like a star tracking system.
What is a tracking system? This means devices which can compensate the earth’s rotation for a certain time by a counter movement to get out of the dilemma with exposure times and star trails.
All devices known to me so far have to be adjusted using Stella Polaris as guidance, at least on the northern hemisphere. According to field descriptions, this is usually not really an undemanding task, especially since even Polaris is not exactly on the Earth’s axis of rotation. The descriptions of the adjustment in the southern hemisphere sound even more dramatic.
Benro-Polaris would be able to be adjusted with a cell phone or tablet, so the promise goes.

Certainly, there was immediately a group on Facebook for Benro-Polaris.
That was one of the moments when I was glad to be a bit older. There were hot discussions there. I thought it was glorious. Several members explained in detail why the Astro kit would not be able to work.
My physical imagination is not the very best. The head with the Astro-Kit can rotate in three axes. A body in space has, in principle, three possible axes of motion. Why should the compensation of the earth rotation be impossible that way? Well…
Then the development and delivery of the devices was delayed by about 6 months. The shitstorm was fierce and amusing.
If I remember correctly, I was „Backer“ 452. At the end of December I got a message asking me to check my address and update it if necessary. In January the letter carrier rang with the package and the customs invoice. Fortunately, Germany. was one of the first regions to be delivered to.

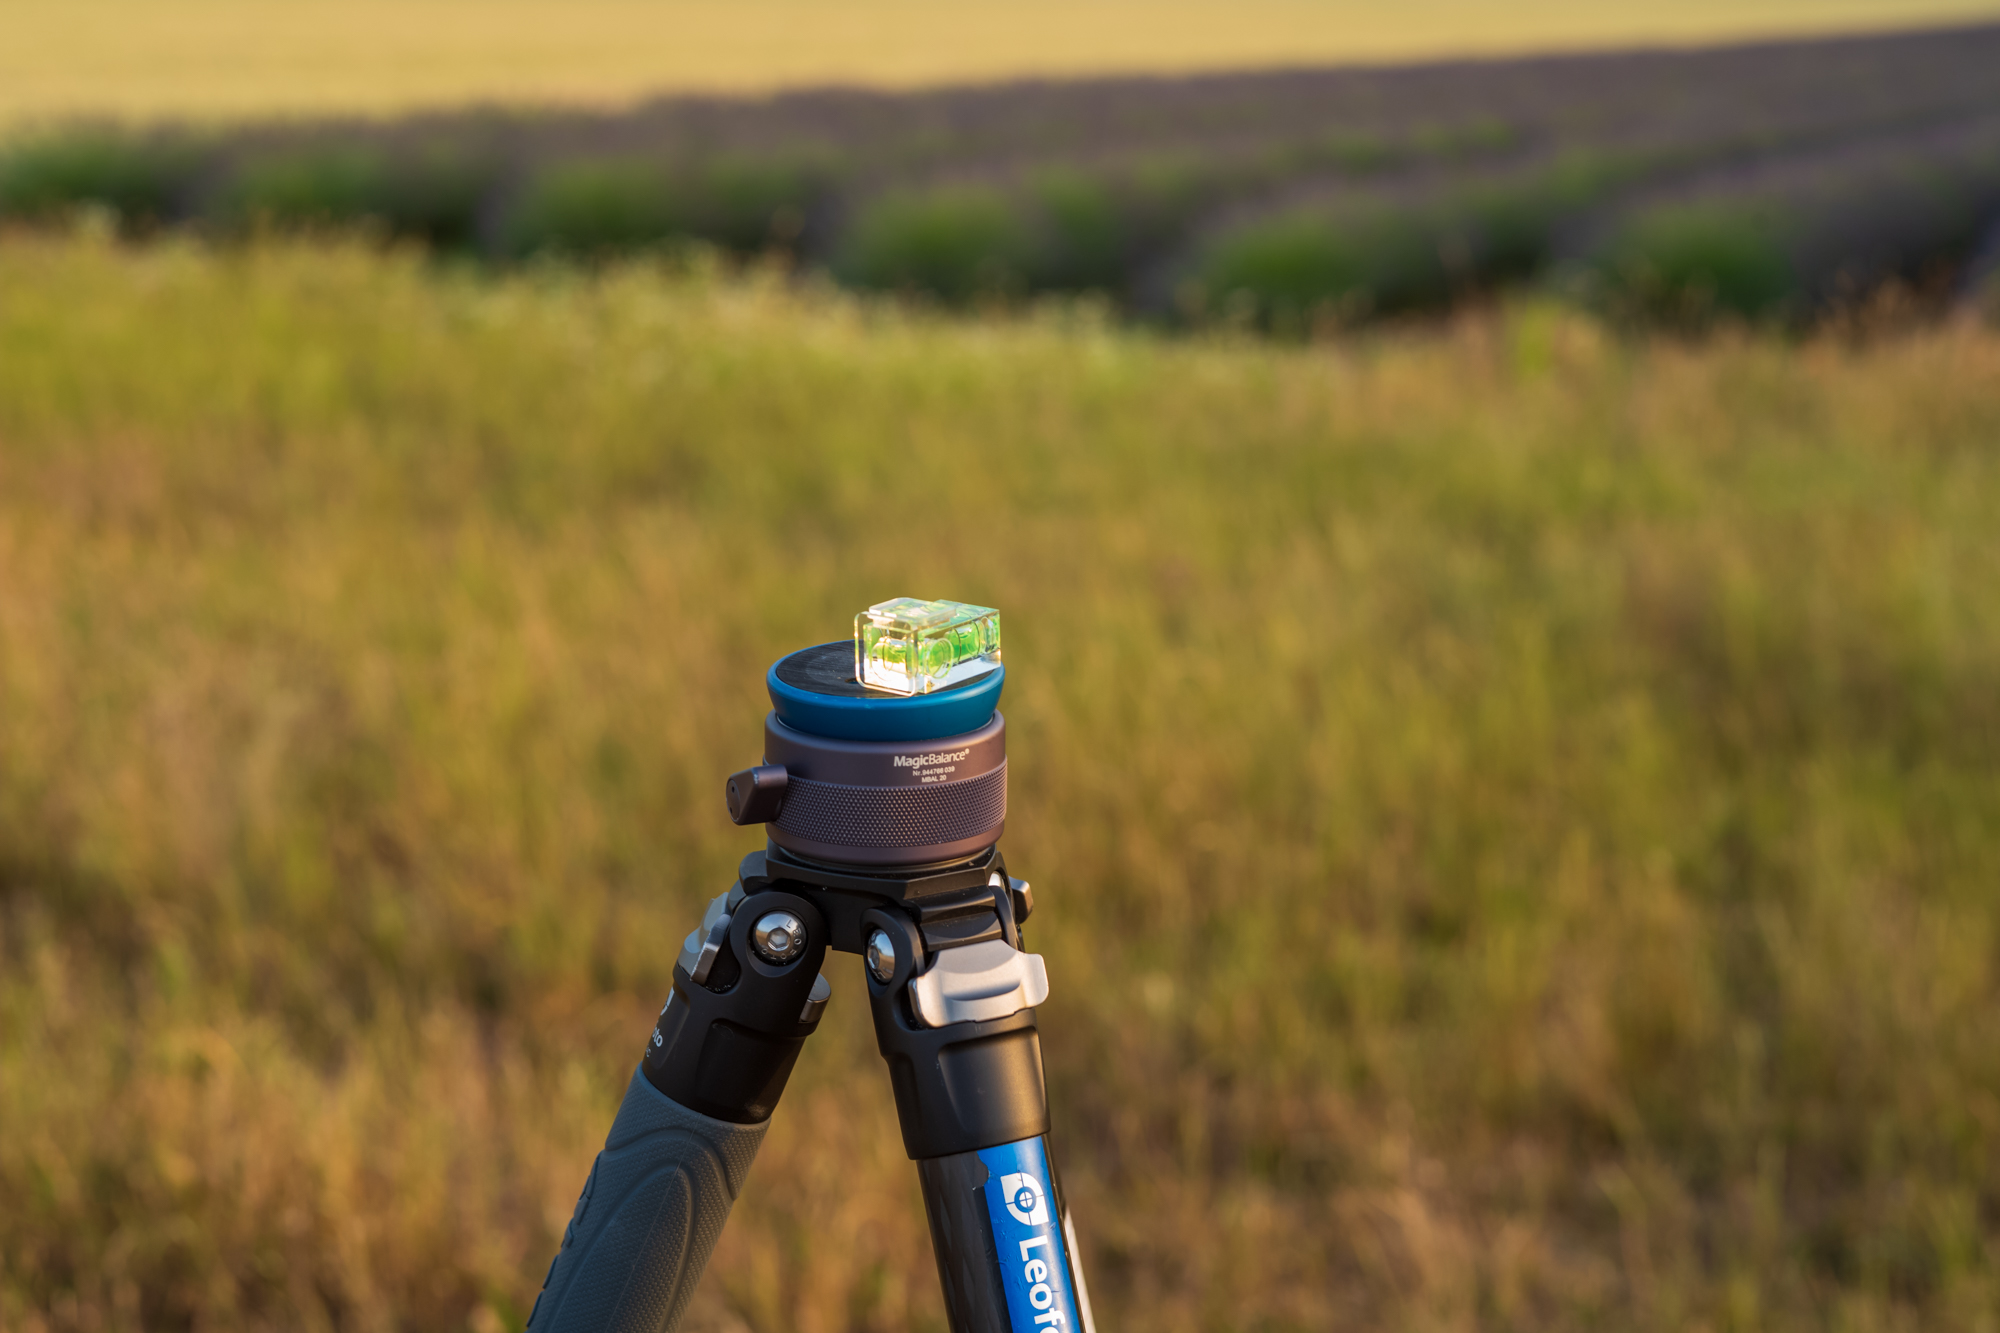
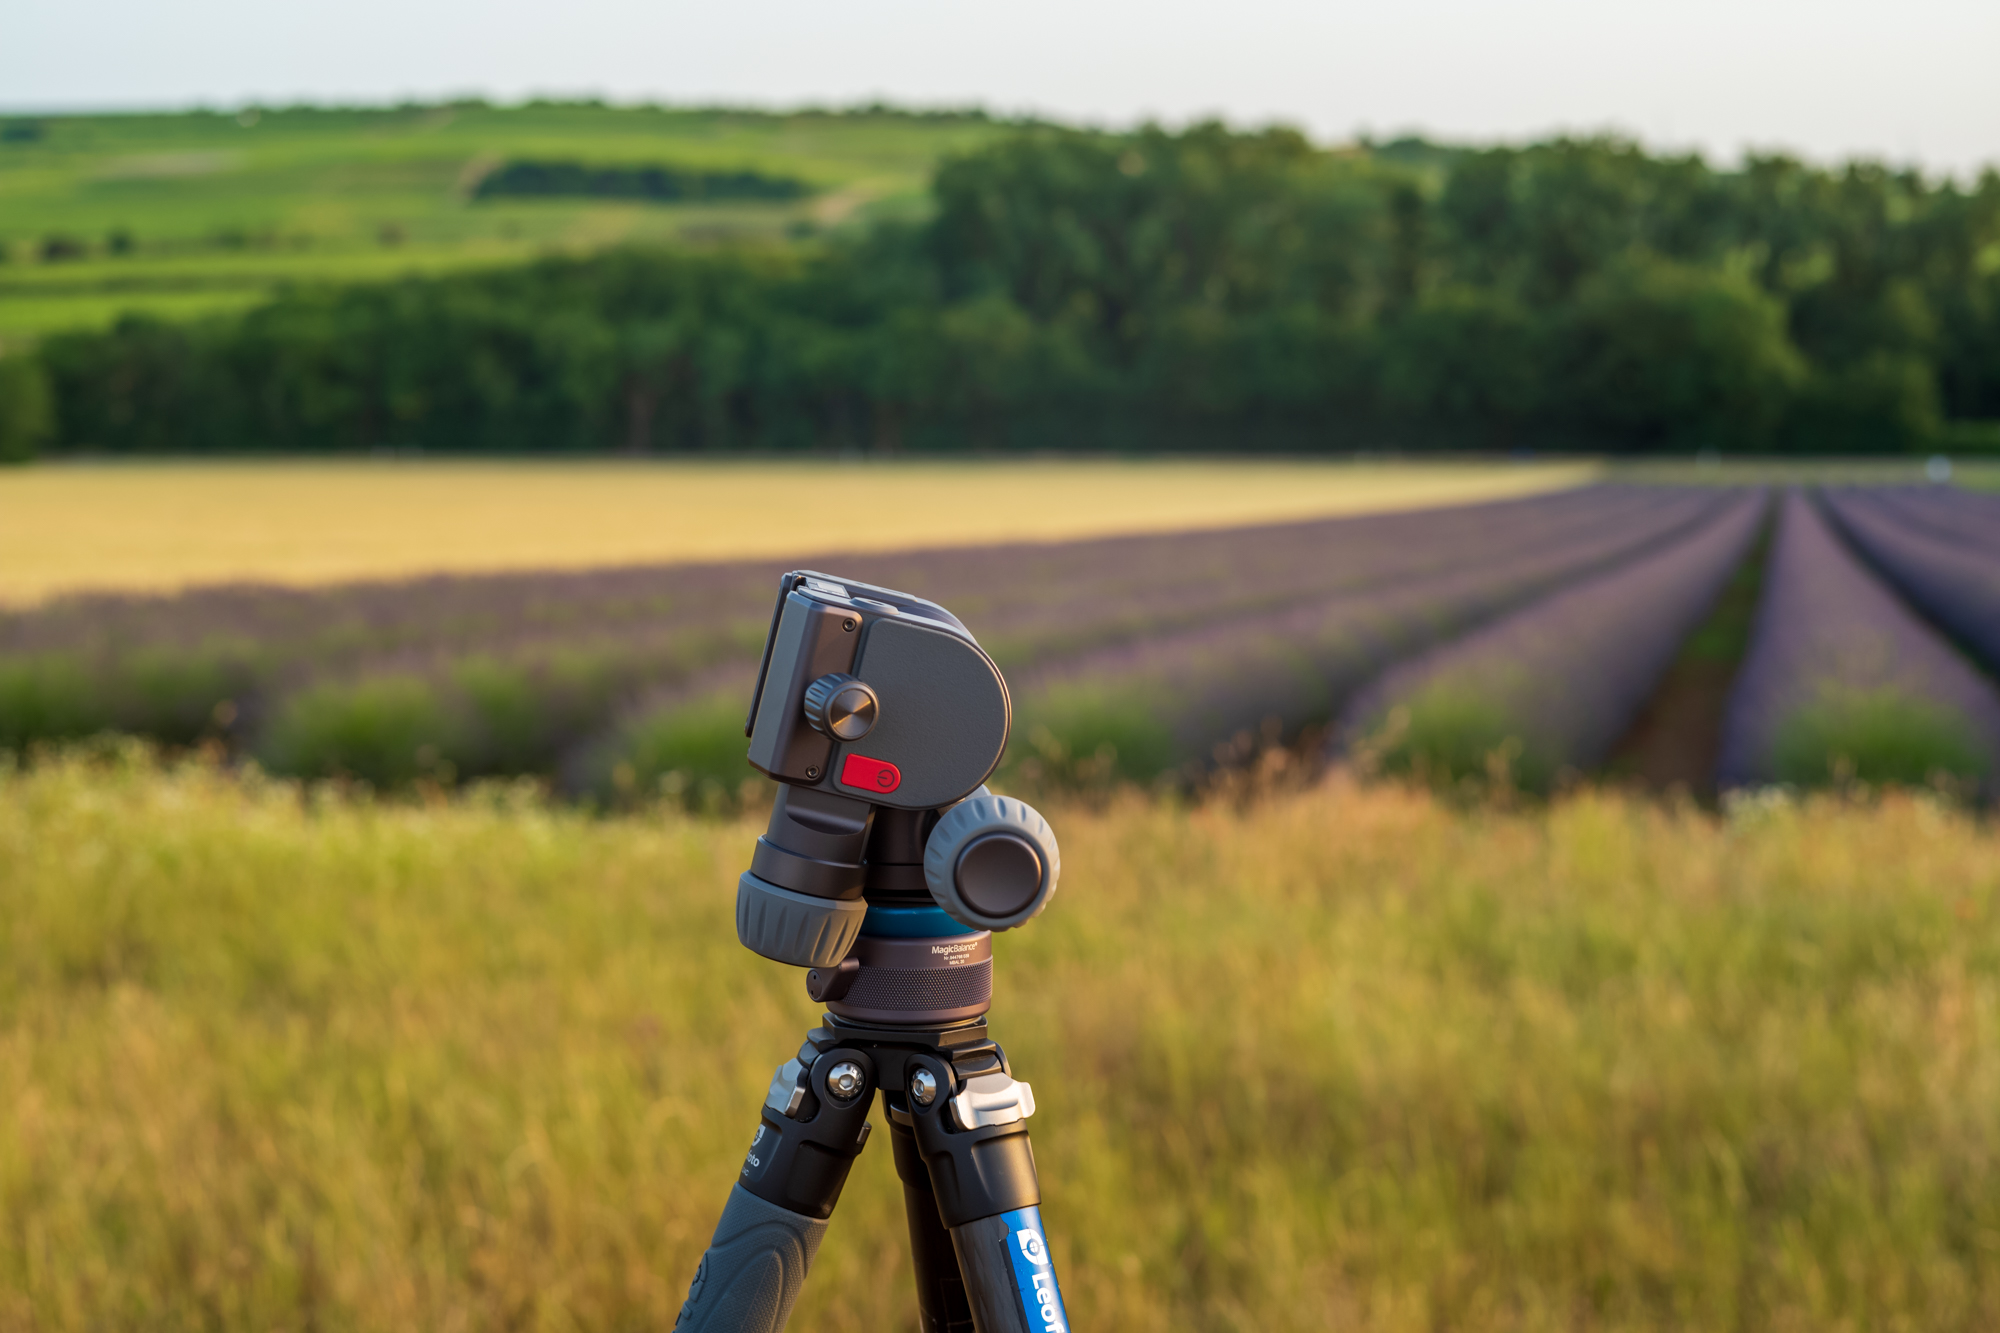
The above image shows to two big knobs for pan and tilt movement. Third axis is not mounted for panoramic images.
The green LED shows it’s turned on, the blue one that is has connected to the wireless device. You can choose between 2.4 and 5 GHz, first for better reach, the latter for more data transfer.

Honestly, at that time the app and firmware were in an „early“ stage. I would still like some things to be different today. However, it is indeed remarkable how quickly the developers, with the help of user’s experience, have improved the software so far.
Up to now I have only used the panorama function and the astro function. I can not make any statements about timelapse and motion timelapse nor focus stacking.

Panorama:
Until now I’ve used a wickedly expensive manual mount from Novoflex. It works fine as long as you don’t move the tripod while manually rotating along the axes. Since you have to touch the device for horizontal and later eventually for vertical rotation it happened to me several times and these panoramas are hardly salvageable by resulting parallax errors or steps. My PS skills are too rudimentary for that. The guys at Gigapixel will always find the stitching errors.
Okay, for the Benro head I had to remeasure the nodal points (npp = no parallax point) of the lenses. I used the old records of the Novoflex device as a guide, so no problem there.
But… the camera always sat in landscape orientation on the head. Panos are usually done in portrait orientation. I put together a way to carry out the shots in portrait direction again using the parts of my Novoflex mount.

Another important note at this point:
Put a level between the tripod and the Benro head. The panos will be a lot better if the head is „in the water“ as one says in Germany. Before I screw the head on, I put a spirit level on the leveling and adjust it accurately, the same in the dark, especially for astro. One can use a mobile app as well but I’m old fashioned.

In the Facebook group, someone wrote me that you can do the same by means of the tripod legs. Obviously, he is absolutely right. However, I do not know if he has already finished leveling when I am back home. You can do it that way, but it’s sh…t.
About the App:
For a pano, you enter the focal length of the lens and the desired overlap of the individual shots in percent (Up to 65% overlap). I use 40% overlap. Then you move the head to the starting point and to the end point using the „joystick“ in the app. The app calculates the rows and columns based on focal length and overlap. Common focal lengths are available, individual ones can be selected as well, don’t forget to set the orientation „landscape“ or „portrait“.

Before starting the image recording, settings on the camera
Very important. Before! you tighten the camera to the head, you should measure the exposure. I look for the darkest and brightest point and set a compromise that fits more to the brightest point, but not quite (like ETTR). A little overexposure is allowed. The EV range of the D850 is enormous. HDR can’t be done in pano mode. At least I haven’t found it. If, for example, the rising sun has eroded highlights, I don’t care. Next, set the camera to M mode and set the determined exposure. I usually shoot with a 50mm lens with an initial aperture of f/1.4, which should have its optimal imaging performance at f/5.6. After that, diffraction sets in and thus makes the effective resolution of the pano smaller. Therefore, aperture always f/5.6 for me at 50mm. By the way, the histogram is shown on the mobile display. When setting the start and end point, you can watch it a bit to avoid too big exposure errors. Because: overexposure means irrecoverably burned out parts, underexposure buys noise in later image processing.
Then I pick a desired focus point or distance, focus, and turn autofocus off.
There is equally the possibility to use the autofocus. But…, this only uses the camera’s center focus point so far, which wouldn’t be a big deal. Regardless, my subjects usually have a large part of sky in the picture. That’s exactly where AF will no longer work. Unfortunately, the app does not yet offer the option to pause a pano. Then you could switch from AF to MF on the camera. I managed to switch AF off today inbetween the heads movement.
Edit Dec. 2022:
New in the software/firmware:
There is a function in the panorama section labeled 720. It simply does a spherical pano. I don’t understand the 720 since a spherical is 360° x 180°. You have to mount the camera in landscape orientation. Benro will then shoot the zenit images and after that move down the rows all the way to the bottom. The nadir point will be left to the photographer, as always.
I always choose a fixed value for the white balance, usually 5500K. Since the images are saved as RAW and JPG, it’s not that crucial. The white balance will later be altered in Lightroom. Unfortunately, you have to set the camera to save JPG. This is required by the Benro-Polaris software, because the SD memory card will store the jpg-images and will not work without that setting. Polaris has a built in stitching software. I suggest not to use it, especially if one does big panoramic images.
The camera stores both, RAW and JPG. Usually I delete the JPGs prior to the import to Lightroom.

It is sufficient to choose smallest JPGs the camera offers. These are only needed to show the intermediate images on the cell phone. For this you can check the histogram there, see above.
My post processing is always done using the RAW files.

Getting the images
Now you can start the recording of the sequence. Unfortunately, it is often the case with my Polaris that the first row runs well and after that, the head does not move up to the second row, instead it tilts skywards to the „moon“. I then stop the sequence. The head moves back to the first image position and I can start over again. The 2nd attempt is usually successful. There is a ticket open with the support.
At the moment I help myself in such a way that I program a small two-line Pano, this works off (with errors) and afterwards I do my originally planned one.
Addendum: This has been fixed by a software update (Oct. 10th, 22)
Furthermore I think it’s desirable to indicate only the starting point and the wanted image angles of the Pano. Something like „start here and do 270° horizontal and 95° vertical“. Maybe this will be changed.
That has been changed …
By now the head stops at the last image of the sequence. Older firmware versions would move back to the starting point.
As of April 2023 one may choose wether the head stops at the postion of the last image or moves back to start.
You can repeat the pano sequence as many times as you want until you program a new one by setting a new starting and end point.
I always use the pano „Pro“ mode.


A papywizard xml file for this would be cool. Recording the movement of the axes and storing it in a file should be possible. When you look at the log in the head’s memory card, you can identify the recorded movements. However I’m not smart enough to read those out and write a program to get a xml-file of them.
The latter makes stitching in PTGui easier.
Post Processing
Stitching
The stitch program PTGui offers the possibility to specify a grid, e.g. 4 rows and 10 columns as well as the overlap. An initial pano-image is calculated using that information. Afterwards one initiates the search for control/matching points only in the overlaps. This speeds up the stitching progress.


Up to now I did panos with 50mm and with a 70-200mm tele. The head carries both without complaint. The composite images so far have been up to 5 GP in size or otherwise 120.000*40.000 pixels at 300ppi.
Stitching in PTGui is relatively undemanding. Import images as tiff and align to the grid. This is mainly useful if there is a lot of sky on the images. It doesn’t matter if the sky is with or without clouds. PTGui will not find any matching points and will not be able to compose the images. Not surprisingly, the images can be moved individually to the appropriate places. When using the grid, it is much faster and more precise. And now you let the software search for control points. Using this method and the motor head, I was able to cut the stitching time at least in half. The rest of the editing is another topic.
Astro:
I did the first attempts with the Astro kit in February 2022. Either the sky was cloudy or the moon was shining, or I did not have the time (Work can spoil a whole week).
Unfortunately, I can no longer tell which firmware and software version were current at that time.
The images showed clear traces on the stars. This was anything but optimal. In the meantime, the accuracy of the tracking has clearly improved, so longer exposure times are possible.

Alignment for Astro:
The first important thing here is the horizontal alignment of the head with the astro part attached. This can be done using a spirit level on the upper part. It also works with a mobile app. Then everything has to be adjusted so that the head knows which direction it is facing. To do this, hold the handset with the app open, as shown in their picture in the app, next to the head and align it.
The big problem here is the misalignment by the mobile device. It simply f…ks up. We have put 3 iPhones next to each other using the compass app. The deviation was more than 25° pointing to north. No wonder why we get these silly calibrations.
When you select a star that should be visible, you select Goto and immediately notice whether the alignment and adjustment are correct when the correct star appears in the display. A little fine tuning using joysticks in the app and you’re done.

Exposure time and ISO are selected. I always do the focusing beforehand and switch the camera to MF. A lens with vibration reduction; this should/must be switched off. The exposure time is set to Bulb on the camera. In the app you also select Bulb and then you can choose the desired time in minutes and seconds.
Tracking is activated. If you look closely, you can see the minimal movements of the three large wheels, which are used to compensate for the Earth’s rotation.

If deep-space objects are targeted, there is no need to take an additional image of the foreground without tracking.
As desired, the number and time interval of the wanted frames for stacking can be set.
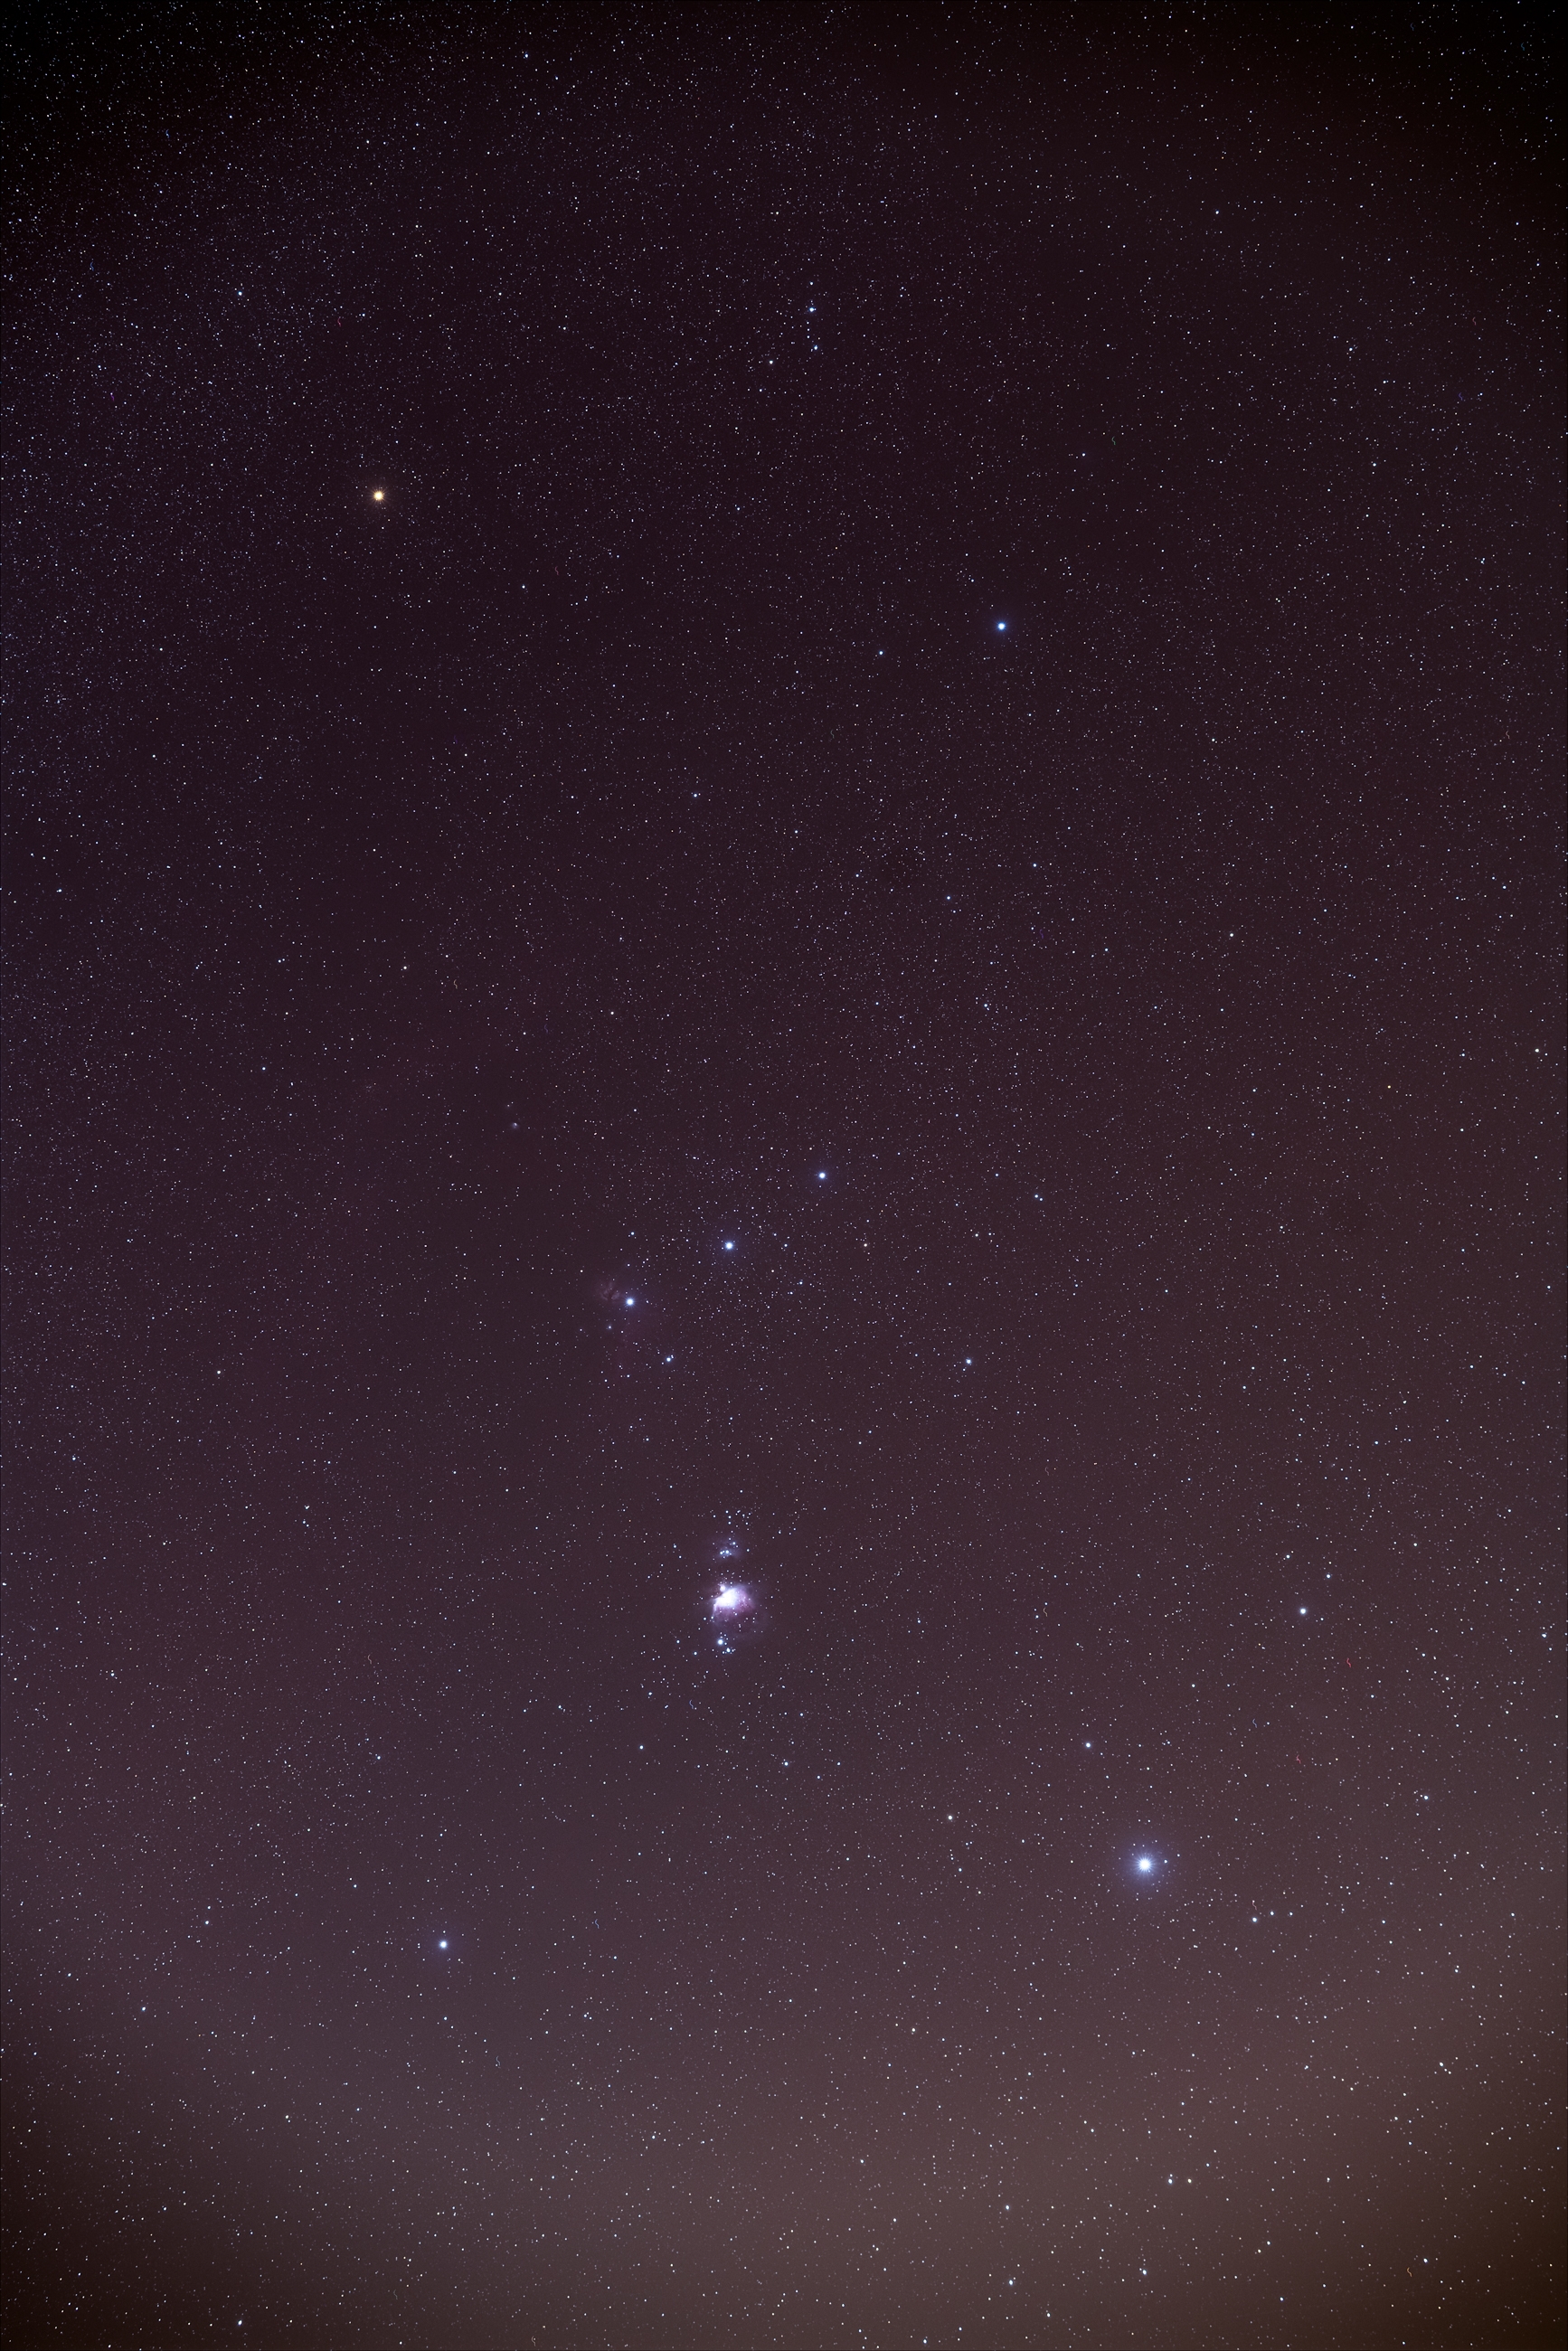
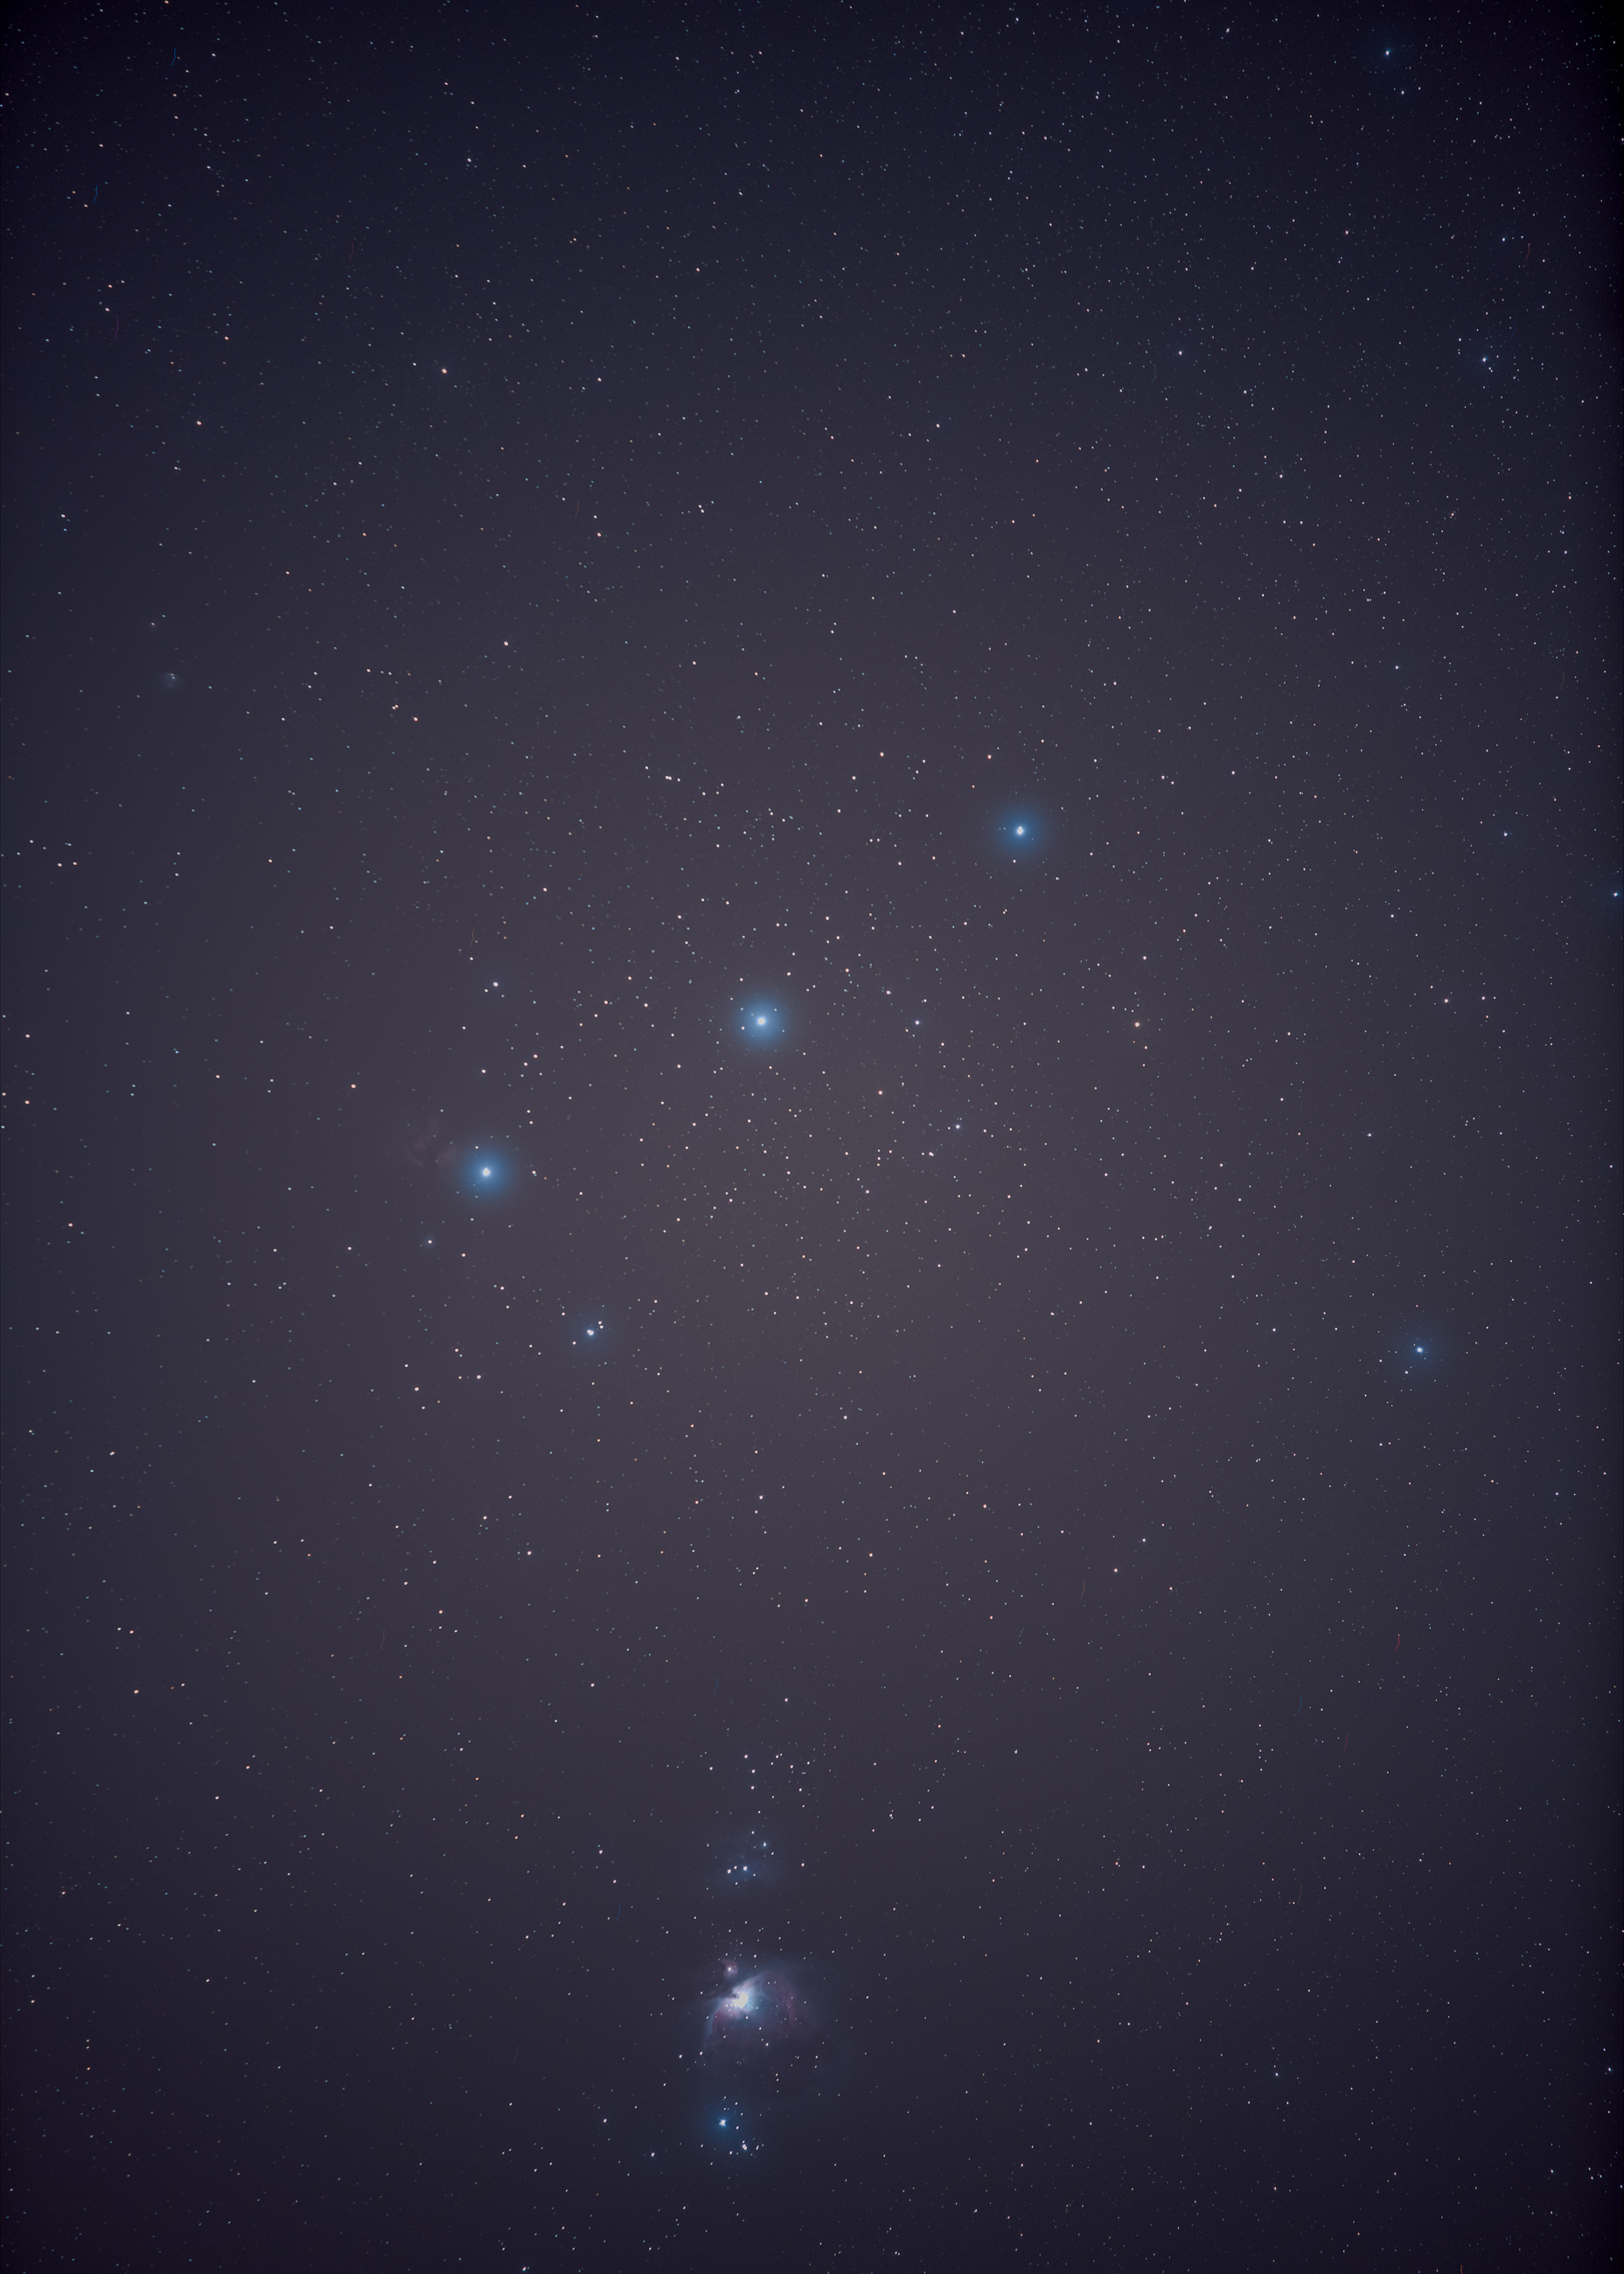
That’s basically it. My longest focal length is 200mm. With this, the Orion Nebula and the Pleiades can be captured reasonably well. Absolutely spectacular images are only possible with longer focal lengths and/or astro-modified cameras.
Finally, I can only praise the simple alignment of the Benro-Polaris. Fiddling with laser pointer, app and bearing to the polar star are not necessary. I don’t have a personal comparison, but I’m sure that the time needed is significantly higher in parallel to full-grown mounts. I’d rather not talk about the weight of the same. In fact I read a report on Facebook where a group of Astro-photographers gathered for a workshop. One of them had Benro-Polaris and was thus nicknamed Astro-Cheater for his quick alignment.
Astro-Panorama:
At the request of users, Benro has added a panorama function for Astro.
If you think now that it works the same way as the other Pano function, far from it.
We are in Astro mode and therefore one uses the „Goto“ function of the star catalog.
Before that, you should have made a number of considerations at home regarding the lens you are using.
Why?
In the Astro-Pano-Mode one specifies the panning range between the single images in degrees. That means Benro does not calculate that itself. Thus I need to know the angle of view of my lenses, horizontally and vertically, and when entering the pan angles, consider how much overlap I want, and logically, whether I have landscape/portrait orientation. My cheat sheet for different focal lengths is in the Benro bag.
On the bottom left of the app are two „angle images“ showing the horizontal and vertical area covered. Noticeable about this is a red dot in the center of each. I’ll get to that in a moment.
I start with Goto to a desired/selected star. It should be in the center of the later pano, where the red points are. This is important if the Milky Way arc should reach from the right to the left edge of the later image.
How do I determine this star? For this I use the app „StarView“. Hold the mobile phone in the center of the Milky Way arc and select a star that is as bright as possible, remember the name….
In the Benro app, enter this star at „Goto“. The head then moves the camera to the desired position. I assume that the astro head has been initialized correctly before. This is done with the compass of the phone/tablet and its GPS receiver.
By means of the mobile display you can check the position. I think that „approximately“ is sufficient here. You will hardly find the star with a wide-angle lens. It was like that for me.
Next you can switch on the tracking. Now Polaris compensates the earth rotation. Start off the pano. Oh, before that, you should specify how long you want the individual images to be exposed and what ISO you want.
I assume that the camera is set to MF, the exposure is in Bulb mode and the lens is perfectly focused to infinity. I do the latter before fixing the camera on the Polaris. I may even use a different tripod head for this beforehand. A manual lens saves the procedure of focusing.

Pano-Start:
You notice immediately that the head moves down to the very left image of the setup. This is where the series of images begins. First, the lower row from left to right, then the next row, again from left to right. That’s certainly not the optimum sequence for an astro-pano. Many of us hope that this will be changed in the future.
I used a 20mm lens for my first trial, Iso 800, f/2.8, 180s exposure, 2 rows, 5 columns.
This worked very well, but… It did have a landscape foreground. This one was needed untracked as well. I was to stupid and frustrated that night to guess the trick to go back to the star of the beginning. It was windy, cold and I was pretty tired (2 o’clock).

Btw. It takes quite some time to do 10 images at 180s. That consumes 30 min plus the time the head needs to move. Notice that it rests before the shutter is opened (smart idea).
I’ll check my assumption at the next possible chance. Of course can one do the foreground with the regular pano function and insert the stars via Photoshop. You’ll have to some composing anyway.
But that’s not my approach. I want to have the same light for both panos. This way I could do milky way shots under full moon and add some polar lights as well and sell fiction away as reality.

It’s important to be aware how long it takes to complete such a session. The longer the focal length the more images have to be taken.
Addition, August 18th, 2022:
I have been able to go out and try some more Astro-Pano shots. The app’s software as well as the device’s firmware have constantly been upgraded. One can now choose the starting point of the pano, which makes planning much easier.
The correct alignment is still an issue. The reason for that is presumable the iphone’s bad compass calibration.
Meanwhile I have helped myself to a 15mm f/2.4 Irix lens. The main reason for that was a totally screwed up astro-session because of a defocused AF-lens. I must have touched to focus ring at some time and didn’t double/triple check the focus. Once the cam is connected to Benro, the review of images is only possible when it’s disconnected. So…

The image above is composed out of 6 shots with the 15mm, each 3 tracked and untracked.
Adding more images taken at Bryce Canyon 2022


Conclusion:
That’s it so far.
I’m sure that the profound knowledge of all founders and the guys at Benro will lead to a well useable motor driven head for pano and astro.
There are already many camera models that work well with Polaris. Pentax and Sony seem to have some difficulties.
My Nikon D850 works just fine.
In case I manage to get good astro-images, I’ll insert them here.
I’m sorry for not keeping this review of Benro-Polaris up to date in terms of software releases, since Benro is issuing new ones at a high rate.

You May Also Like

6 Comments
Ishara Dhanapala
Hi Alan,
It’s a great review and thank you very much!
How many rows of photos can be taken in Astro Panorama mode? Only two or multiple rows?
Regards,
Ishara
dirk
Hi,
you can do multiple rows, although it’s not that easy to achieve a clean result. All images that have not moving elements, like the foreground have to be taken twice, guided and unguided. That’s very time consuming.
Good luck
Dirk
Mike Cowlishaw
Also many thanks for this excellent review. One quick question (apologies if I missed it): can the app repeat a panorama (e.g. after adding a polarising filter, etc.)?
I currently use the Sky-Watcher AZ-GTi and its SynScan Photo app has this feature and I find I use it almost every time.
(e.g., for the panoramas at https://speleotrove.com/gallery/Kenilworth_Castle.html I took more than one set of images so I could then select the ones without walkers/joggers.)
Mike
dirk
Hi Mike,
thx for your kind words.
The app can repeat panoramas. You can set in Pro Mode, that the head moves back to the starting point and then just repeat the sequence. You can also save settings of panos in Pro Mode. I’m not sure about a saving function for Astro-Pano. I haven’t done one for a long time.
Greets Dirk
Alan Knox
Hi – Thanks for the great review. There are virtually no reviews on taking panorama’s everything seams to be about Astro so you review was great. Can you tell me if you know what the maximum focal length of lens you can use. I have a Sony 100 – 400mm lens which I like to use for panoramics and was wondering if the Polaris will work with it.
dirk
Hi Alan,
thank you for your kind words regarding my review. Benro is a phantastic device in terms of panoramic images and I could accomplish quite a few of those.
My longest lens is 200mm and this one worked quite well with polaris. The question there is the number of single images you take and the enormous amount of data you aquire. Benro does it fine. The headache comes with the stitching and post processing.
https://gigapixel.gmbh/bilder/details/eisbachtal
That’s the biggest pano I have done so far with a 200mm lens.
Greets
Dirk